
Suntan Special version 0.68
Suntan Special Warp4 edition
Installing Suntan Special
To install Suntan Special, run the install.cmd file in the root of the CD-ROM (Broadband edition), DVD (DVD edition) or zip file (Web edition).
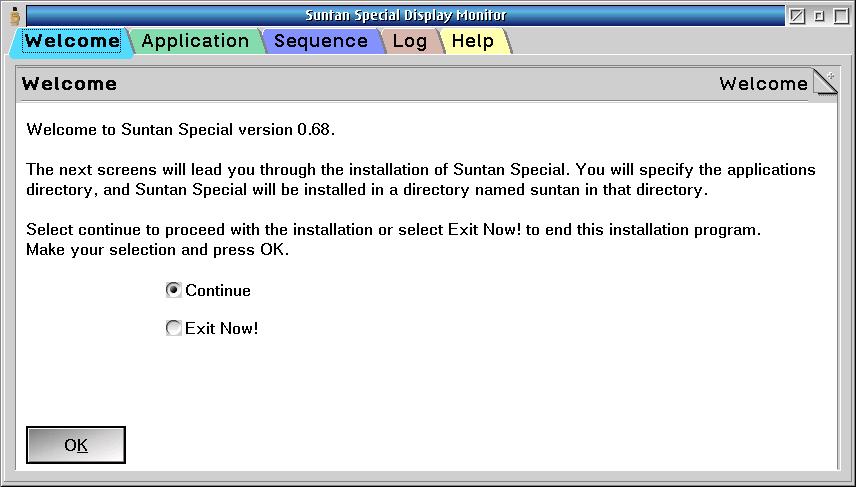
An introductory screen will appear -- press OK to continue.
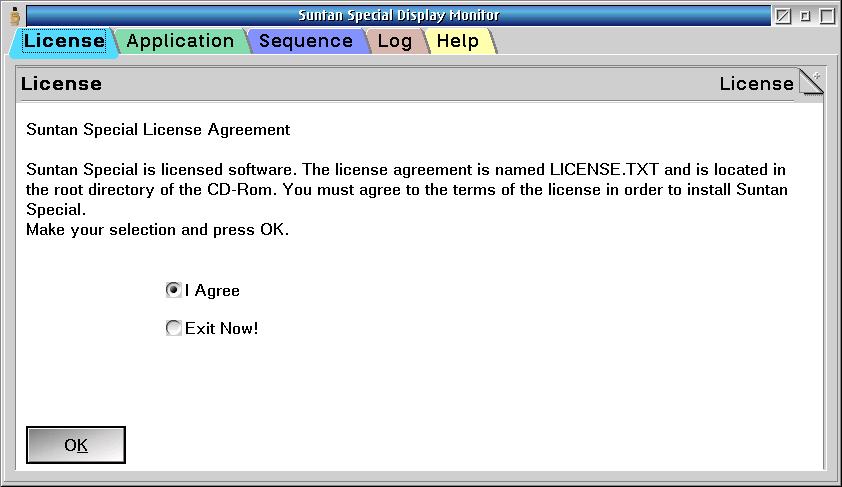
A license screen will appear -- press OK to continue.
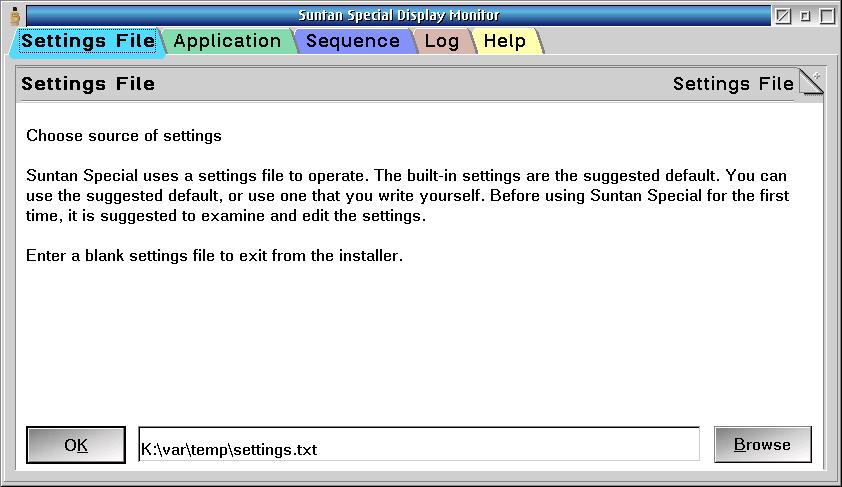
A settings selection screen will appear. If this is the first time you are installing Suntan Special, accept the default and press OK. If you are reinstalling Suntan Special, your current settings file will be the default. If you are an old hand at installing Suntan Special, select one of your favorite settings files, and press OK.
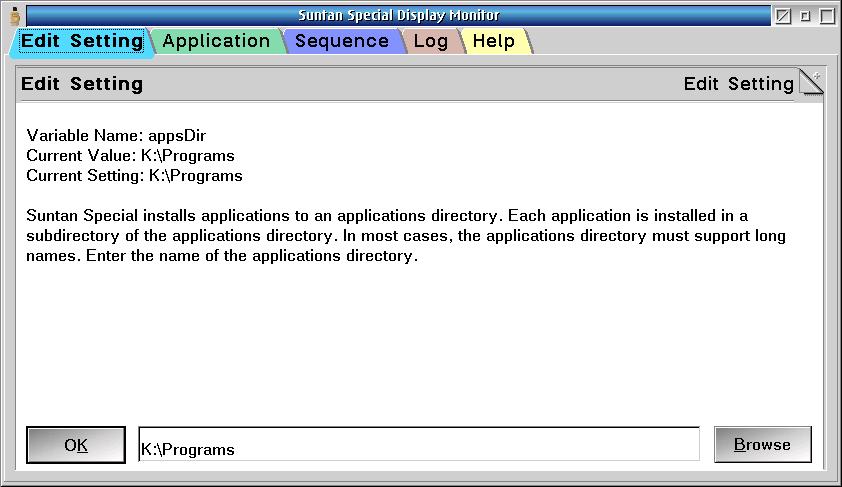
This screen allows the selection of the applications directory. The applications directory is the directory under which all applications installed by Suntan Special will be installed. Suntan Special will be installed in the suntan directory under the applications directory. Note that the default application directory is a REXX expression. You may replace this with a plain directory name. You may make your settings files fairly transportable by using Suntan Special capabilities described in the help file.
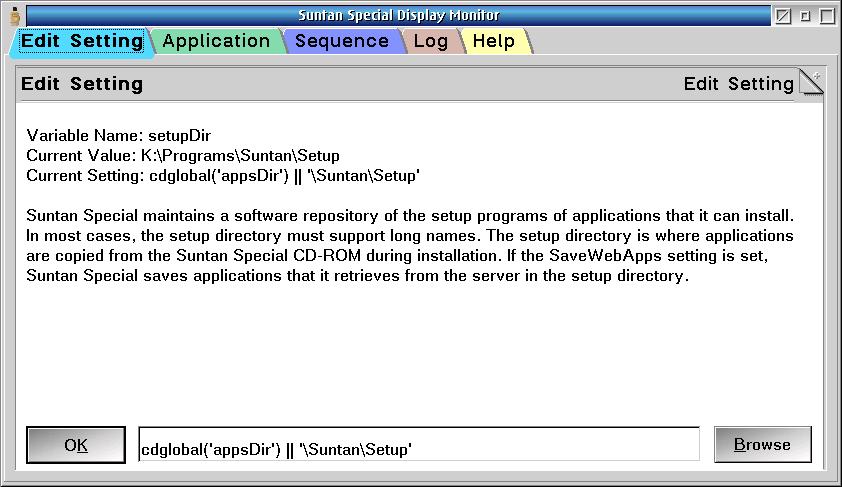
This screen allows the selection of the setup directory. The setup directory is the directory under which setup programs can be stored by Suntan Special. If the saveWebApps is set, then Suntan Special stores setup programs downloaded from the internet in the setup directory. Note that the default setup directory is a REXX expression. You may replace this with a plain directory name or you may use Suntan Special capabilities described in the help file.
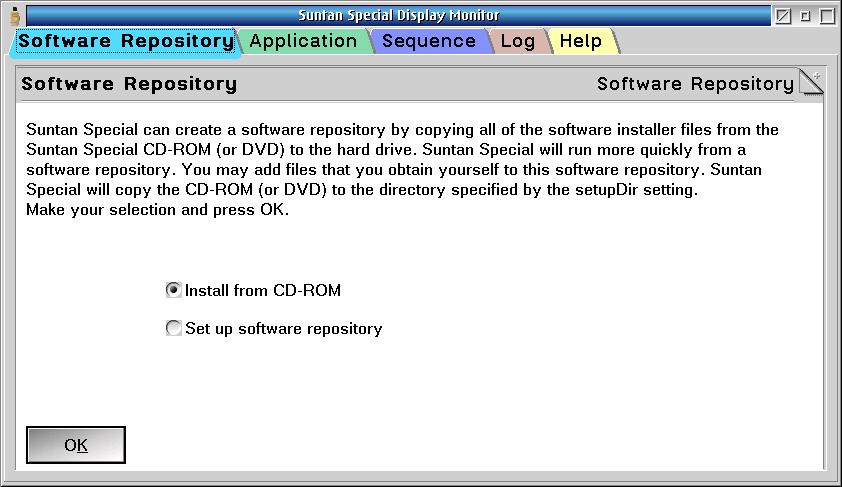
A screen to select the type of installation will appear. The choices are to install products from CD-ROM or to install products from the hard drive. If you select CD-ROM, then Suntan Special will copy a minimum of files to the hard drive to do it's work. If you select the hard drive, Suntan Special will copy the entire CD-ROM to the setup directory you specify on the settings screen. This will allow you to share this installation between many installation partitions on one computer or over the network.
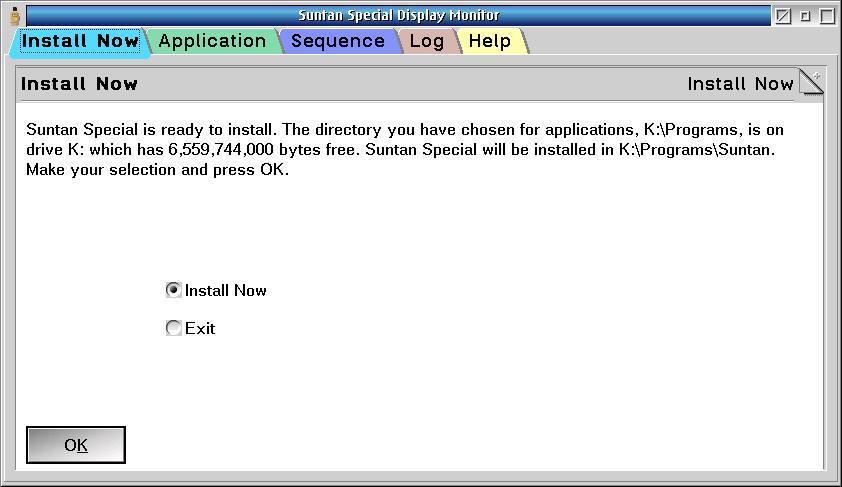
A screen will appear offering to install. Press OK to install.
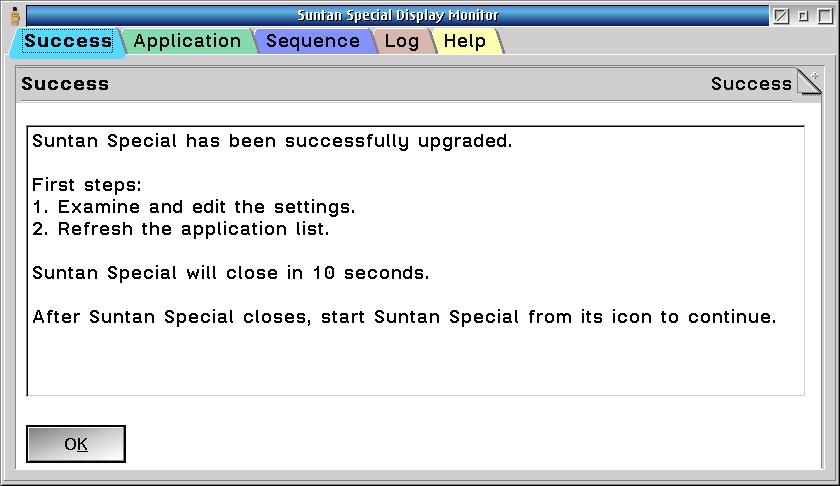
At the end of a successful installation, a Suntan Special folder will appear on your Installed Software (eCS) or Programs (OS/2 Warp) folder.
Follow the first steps listed in the final screen. Press OK and wait for Suntan Special to close. Run Suntan Special by double clicking the program icon.
- Examine and edit the settings.
- Refresh the application list.
Graphics by Colorful Language
Copyright 2019 by Blonde Guy